As I mentioned in my last post, the next step after making the planting bed was creating the sitting area.
We covered the area with decomposed granite (DG for short). It is cheaper than concrete and allows rain to percolate through so it is better for the soil. It is supposed to pack down and solidify. That is still a work in progress. But I am getting ahead of myself.
To prep the ground for the DG, John cut the grass down almost to the dirt. Here he is using the weed eater on it. He also removed some of the dirt where the ground was too high.
 |
| I realized after I posted last time that I neglected to put a picture of the finished planting bed. So you can see that here too. |
After cutting the grass down he checked for low or high places and added and/or removed dirt as needed.
 |
There used to be a strip of white rock next to the house. I didn't want that there anymore so he removed it. That's why there's no grass along there. The large black pipe in the trench next to the house connects our drip irrigation system on the side of the house with the faucet at the front. If you look closely you can also see a small brown tube laying next to the black pipe. That's an irrigation tube to water the foundation.
It may sound crazy but "watering the foundation" is a thing here. It is actually watering the soil around the foundation to keep it evenly moist. The soil in this area is a type of clay that expands and contracts easily with changes in moisture levels. Our weather varies a lot from drought to floods, and freezing to heat. The frequent changes in the soil puts stress on foundations here and can even make them crack. So watering the soil around the foundation helps keep it and the foundation from cracking.
The grooves in the grass on the right side of the photo are where there were irrigation tubes to water the grass. Those aren't needed for the sitting area so John removed them. Val, our landscape designer, said not to put any on the planting bed either since the plants she chose for that are drought tolerant and won't appreciate regular watering. We generally only water the grass once a week but she said they wouldn't tolerate even that much.
Once the ground was smooth and level, accept for a slight slope away from the house, he covered it with heavy duty weed barrier cloth.
 |
| The wind didn't help, but it makes for a more interesting photo. |
 |
| It was nearly dark and the streetlight beside our house was already on by the time it was done and ready for the the DG. |
The DG on the right in the photo below is the one that is most common in our area and was what Val recommended. But we discovered the large kind, on the left, at Earthtones Greenery in Midlothian, about 30 minutes from us. We thought it would be less likely to track into the house on our shoes so we got it instead. They had large a sitting area of it at Earthtones. It looked quite nice and was well packed down and solid. They said we would need three inches of it which was more than what Val had said we would need of the other kind. But that seemed reasonable and it made it more even with our front entry way.
.jpg)
We were thrilled to learn that Earthtones offered delivery--saving us multiple trips with our little car and lots of loading and unloading. We were also able to borrow a wheelbarrow from a coworker of John's.
 |
| They Earthtones Greenery delivery man dumped the DG onto a tarp we put out on the curb in our front yard. |
 |
| John dumping the first load of DG onto the prepared sitting area. |


The n95 mask was great protection against the DG dust. It didn't look like it was generating much dust but after helping John for a few minutes I could feel it lodging in my sinuses so I put one on and insisted John use one too.
 |
| Spreading DG with the back of a rake. |
 |
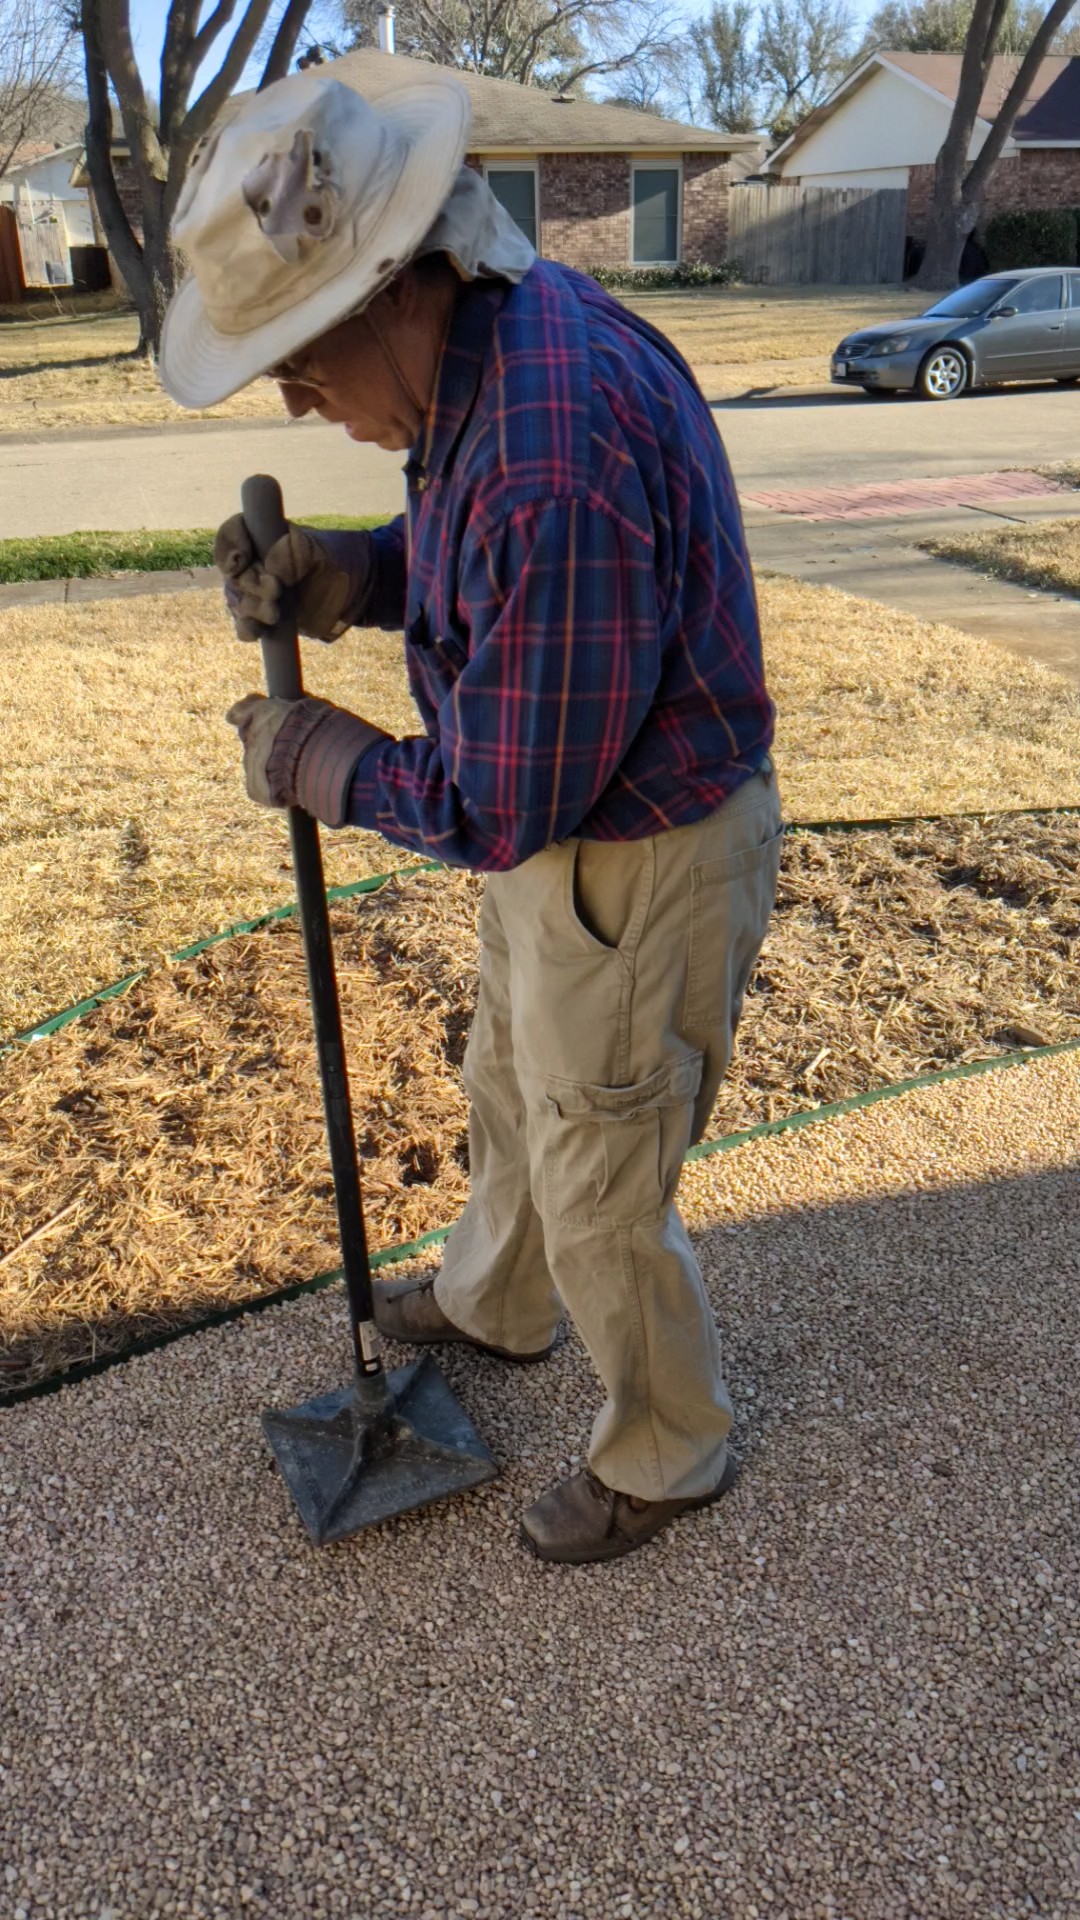
| Starting the seemingly endless process of packing and leveling. The hand tool John is using here doesn't seem too heavy the first few times you pick it up and drop it but after the first several hundred, or so, times I suspect the weight starts to add up! |

Watering DG is supposed to help it solidify. We'll see. So far it is still fairly loose. Hopefully my friend Susan is right and it will pack down more as the weather warms up. It keeps getting churned up though and we have to keep releveling it. I hope it doesn't suddenly decide to solidify on a day while it is churned up before we've gotten around to re-leveling it again.
 |
| The finished sitting area. |
So that is the the sitting area installed. We hope to add more color to it and other things--like things to sit on for example. But that will come later. Next up: plants in the planting bed!


 Some roots he dug out, some he sawed out with a saws-all and some he chopped out with an ax


